Ubuntu MATE Installation Guide
Ubuntu MATE is an official Ubuntu flavor that uses the MATE desktop environment, known for its balance between performance and functionality. This version is ideal for users looking for a lightweight yet full-featured operating system, with a classic and efficient design. Ubuntu MATE is perfect for both modern machines and older hardware.
Ubuntu MATE is known for its low hardware requirements compared to other desktop environments. For an optimal experience, at least 2 GB of RAM and 15 GB of disk space are recommended. You can install Ubuntu MATE alongside other operating systems or as the only system on your computer.
System Requirements for Ubuntu MATE
- Processor: 1 GHz CPU (dual-core recommended)
- RAM: Minimum 1 GB (2 GB or more recommended)
- Storage: 15 GB free space (25 GB recommended)
- Graphics: Graphics card capable of 1024×768 resolution
- Installation Media: 2 GB or larger USB (USB 3.0 recommended)
- Display: Minimum resolution of 1024×768
- Internet Connection: Recommended for updates
- Boot: Compatible with BIOS or UEFI
Follow these 17 detailed steps to install Ubuntu MATE on your computer. Each step includes a reference image that you can enlarge by clicking on it.
Start Installation
Insert the installation USB and select "Try or Install Ubuntu MATE" by pressing Enter.
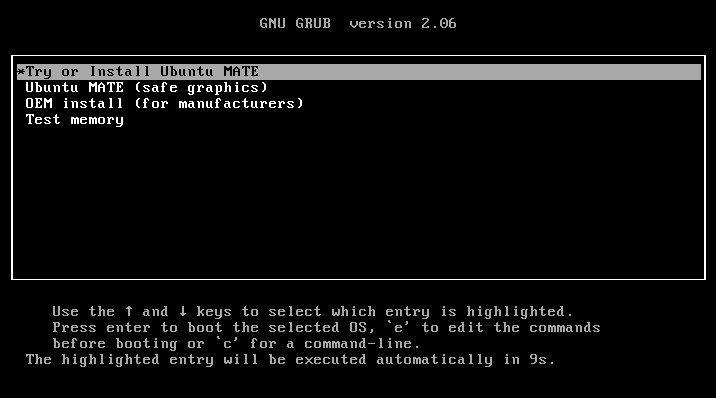
Click on the image to enlarge
Loading Installation
Wait for the installation to load.
Click on the image to enlarge
Select Language
Select your preferred language for the installation and click "Continue".
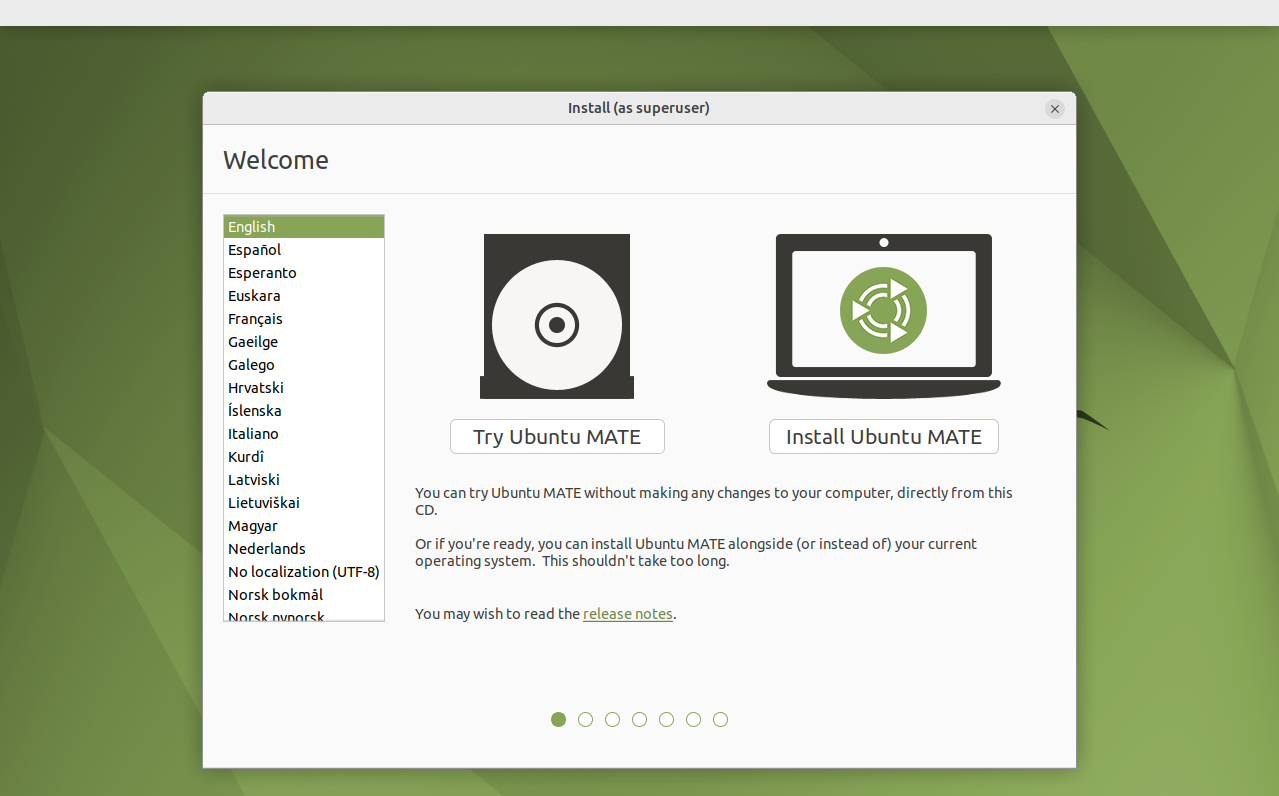
Click on the image to enlarge
Keyboard Layout
Select your keyboard layout or check that the detected one is correct.
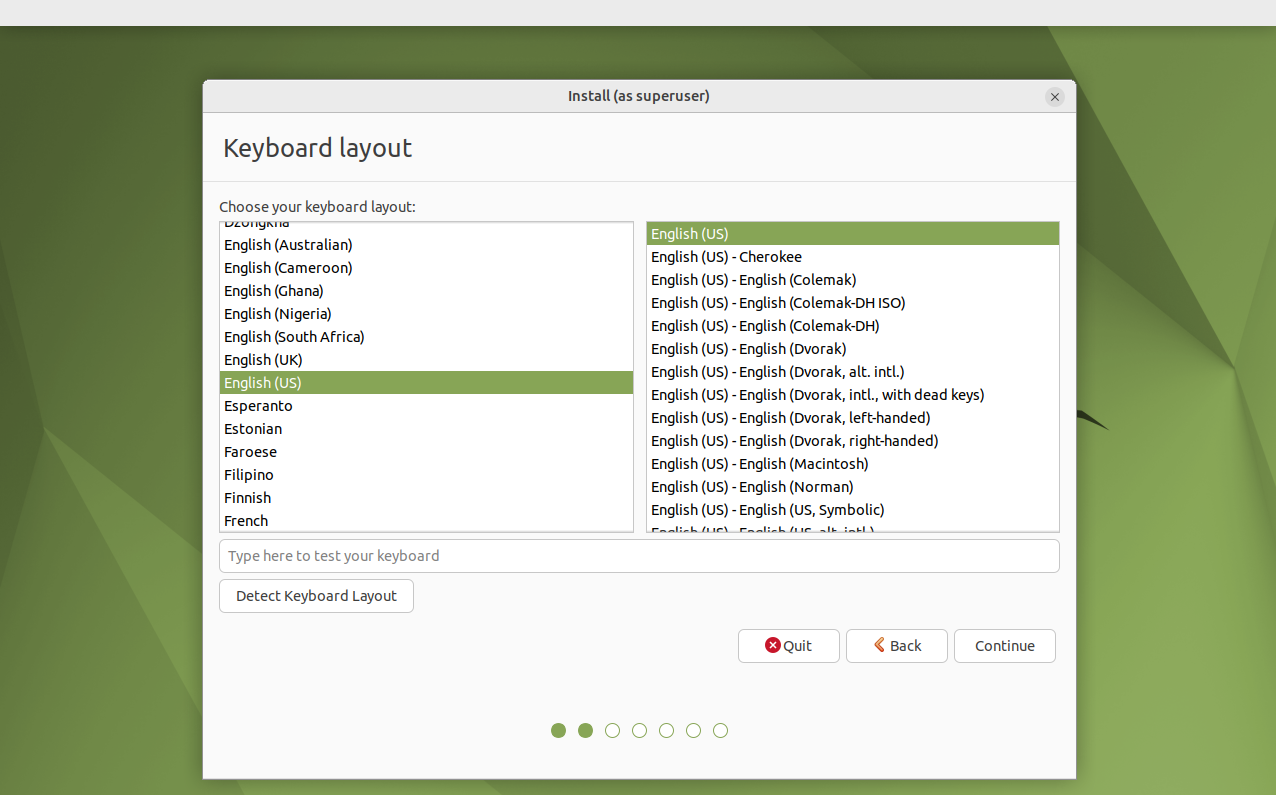
Click on the image to enlarge
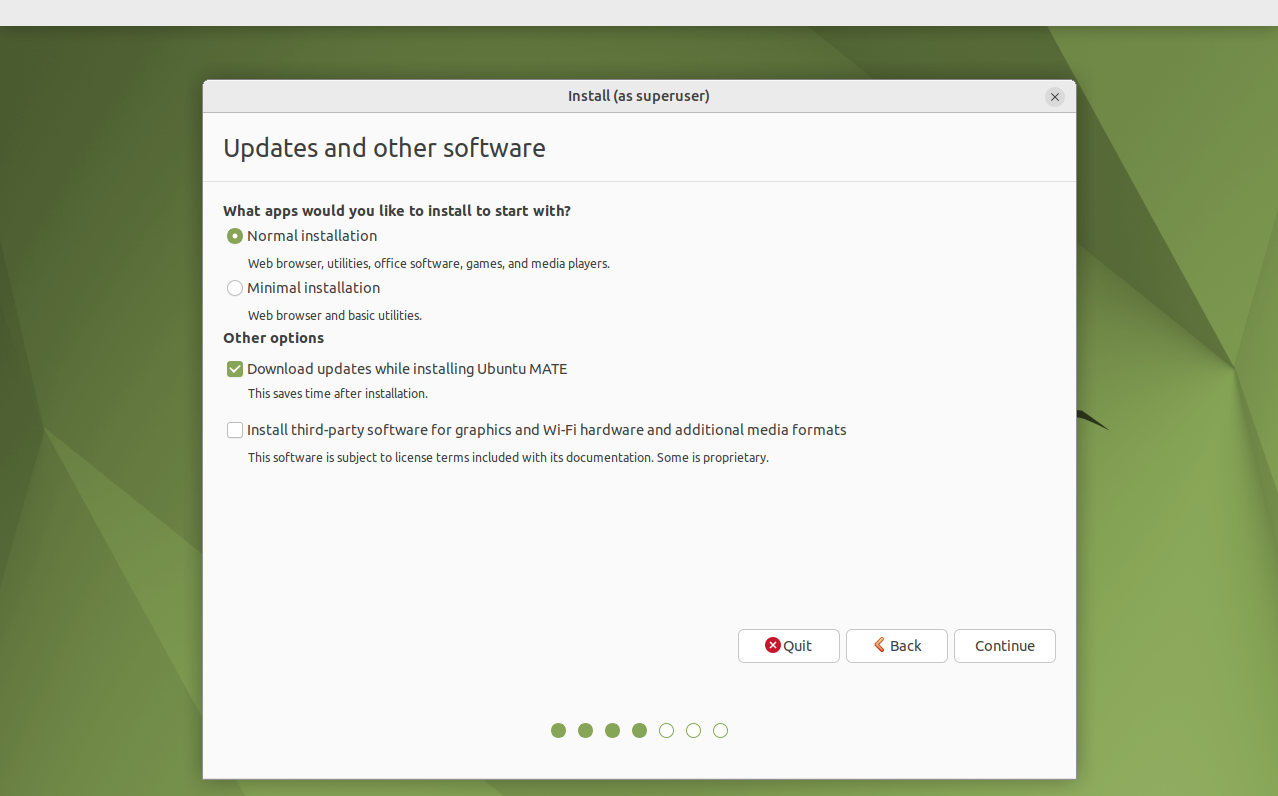
Updates and Software
Select the options to install updates and third-party software if you are connected to the internet.
Click on the image to enlarge
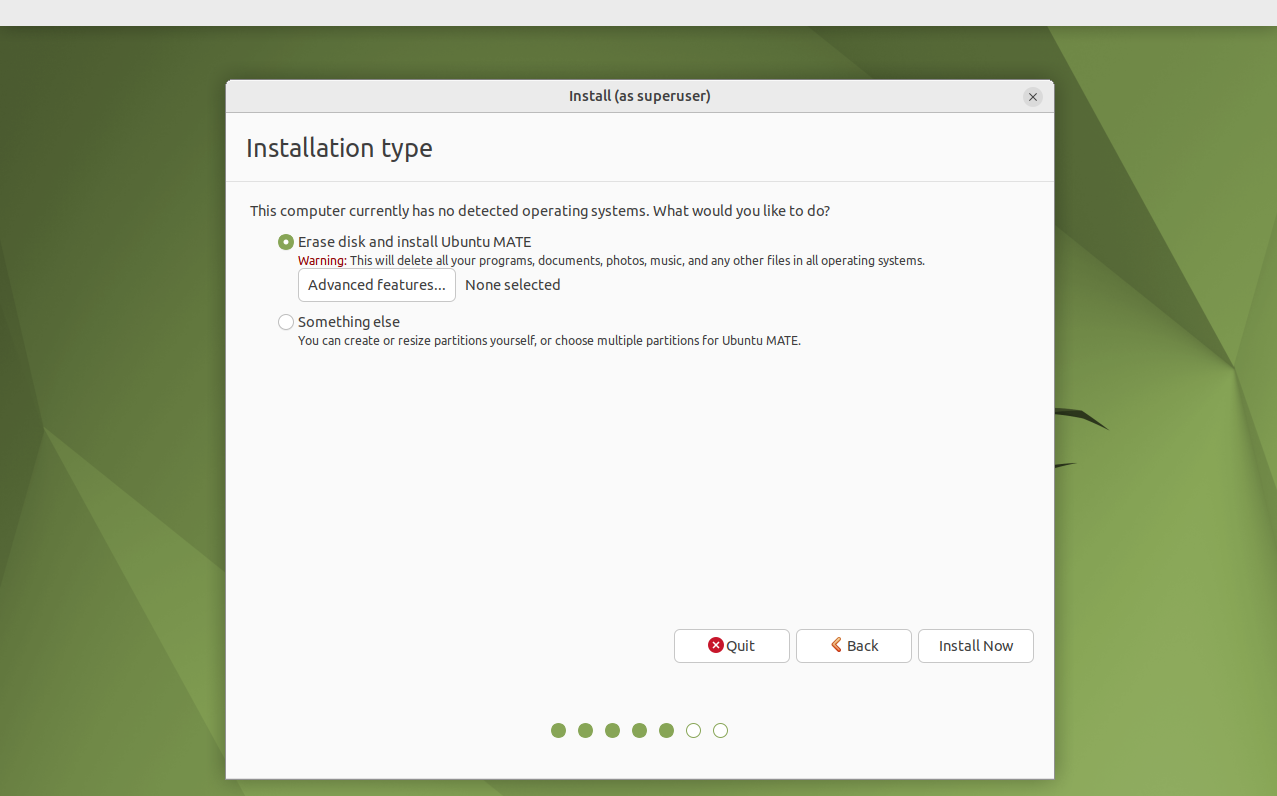
Installation Type
Select "Erase disk and install Ubuntu MATE" for a clean installation or "Something else" for manual partitioning.
Click on the image to enlarge
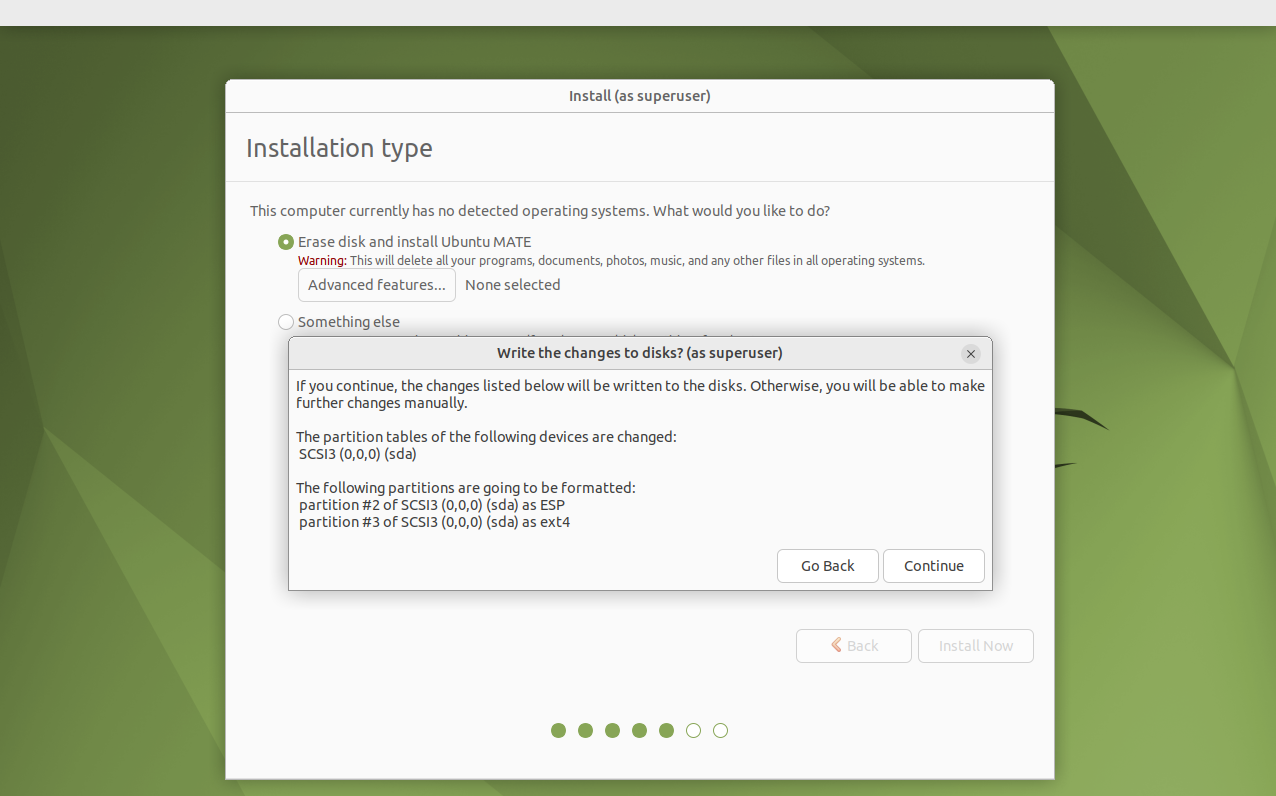
Confirm Partitioning
Review the changes that will be made to your disk and click "Continue" to confirm.
Click on the image to enlarge
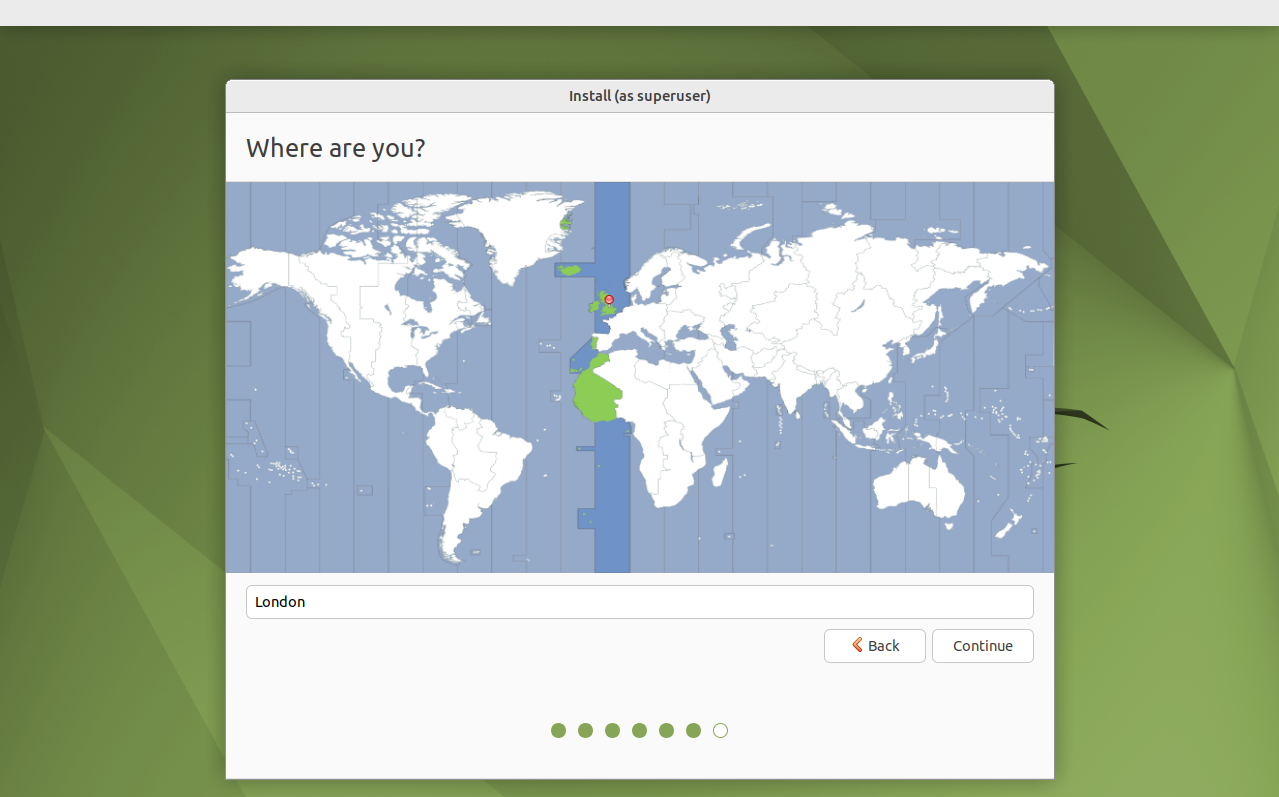
Time Zone
Select your time zone by clicking on the map or typing your city.
Click on the image to enlarge
Create User
Enter your name, computer name, username, and password. Choose whether to log in automatically.
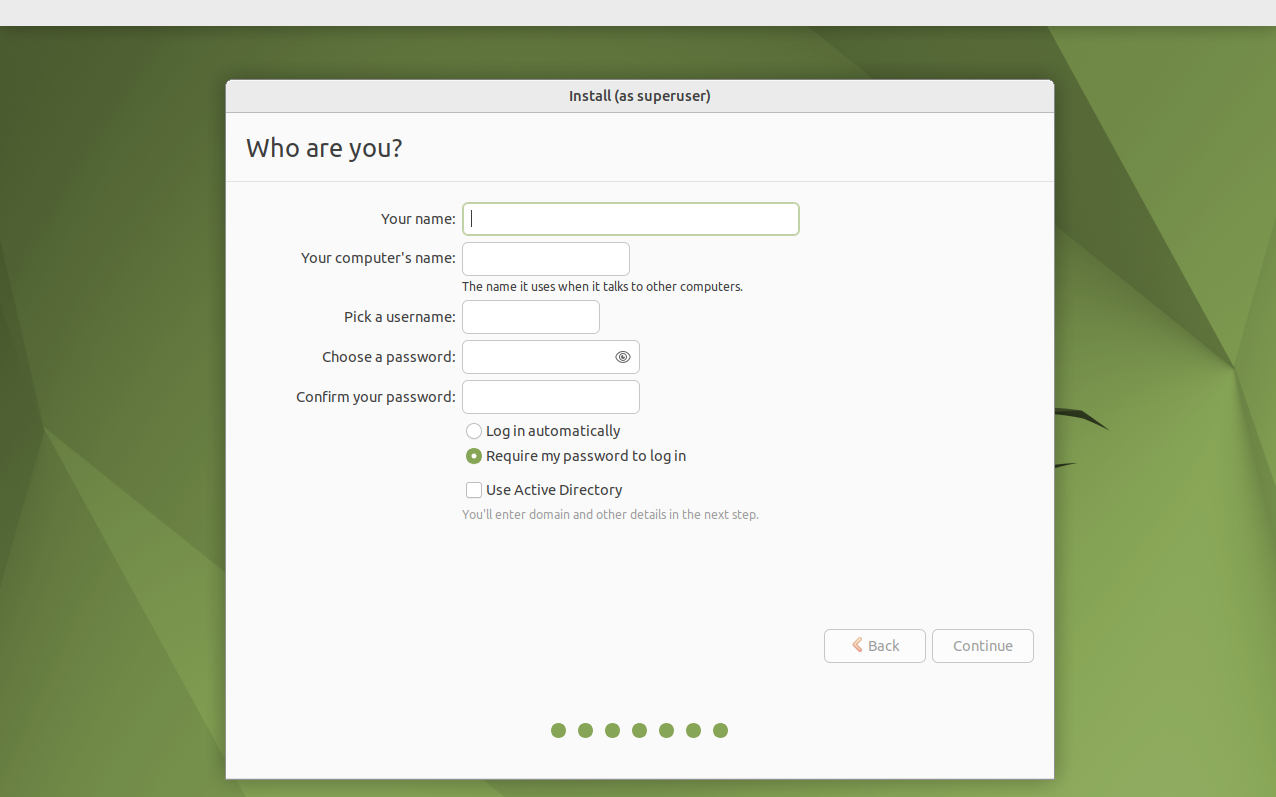
Click on the image to enlarge
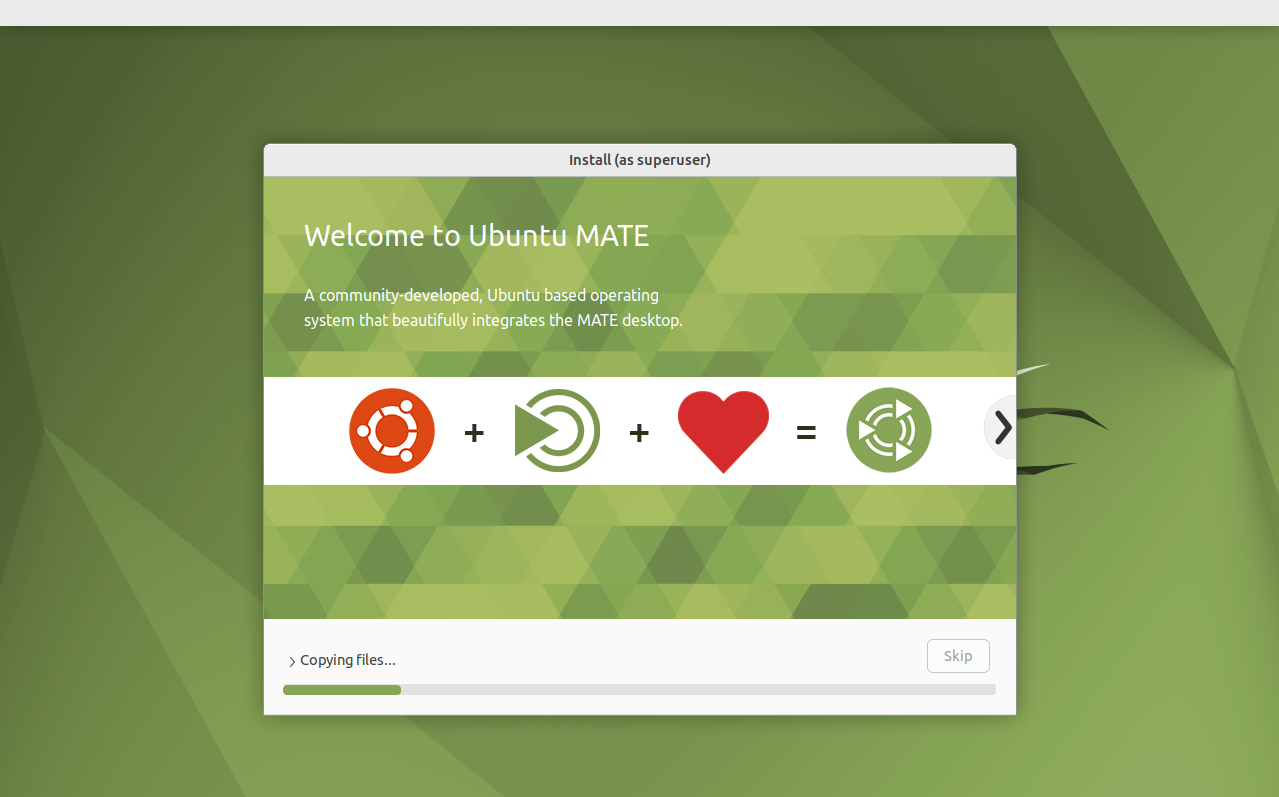
Installation Progress
Watch the progress of the installation. This process may take several minutes depending on your hardware.
Click on the image to enlarge
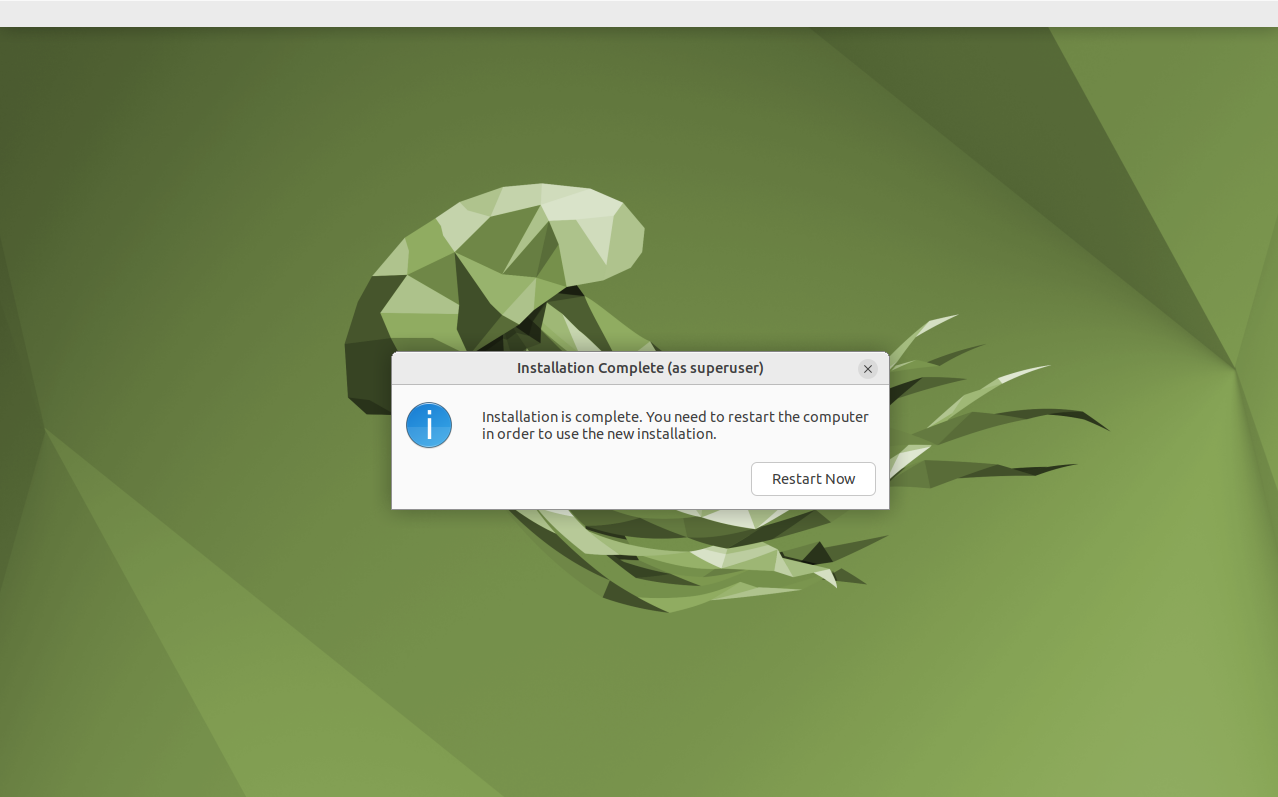
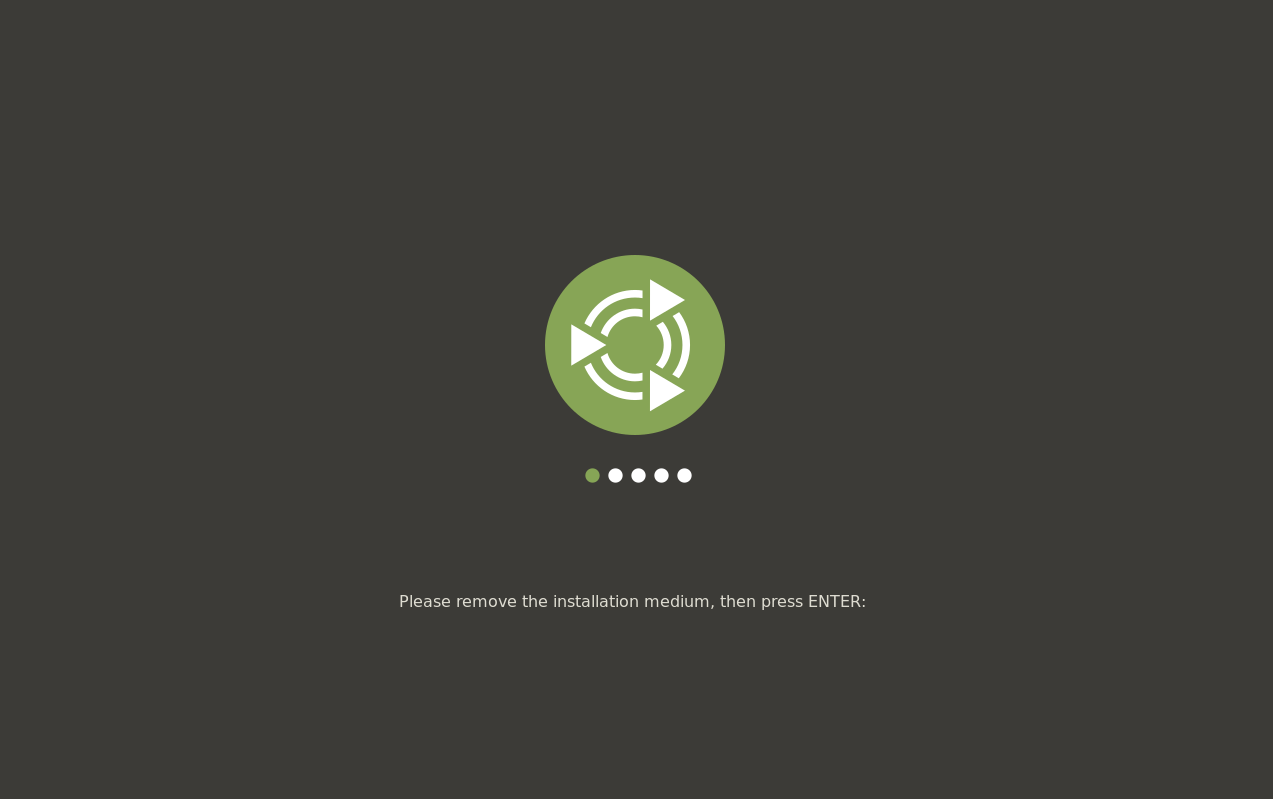
Installation Complete
When the installation finishes, you will see a message indicating the process was successful. Click "Restart Now" to complete the installation. Don’t forget to remove the USB when prompted.
Click on the image to enlarge
Ubuntu MATE Desktop
Welcome to the Ubuntu MATE desktop! Get familiar with the top panel and the Applications menu.

Click on the image to enlarge
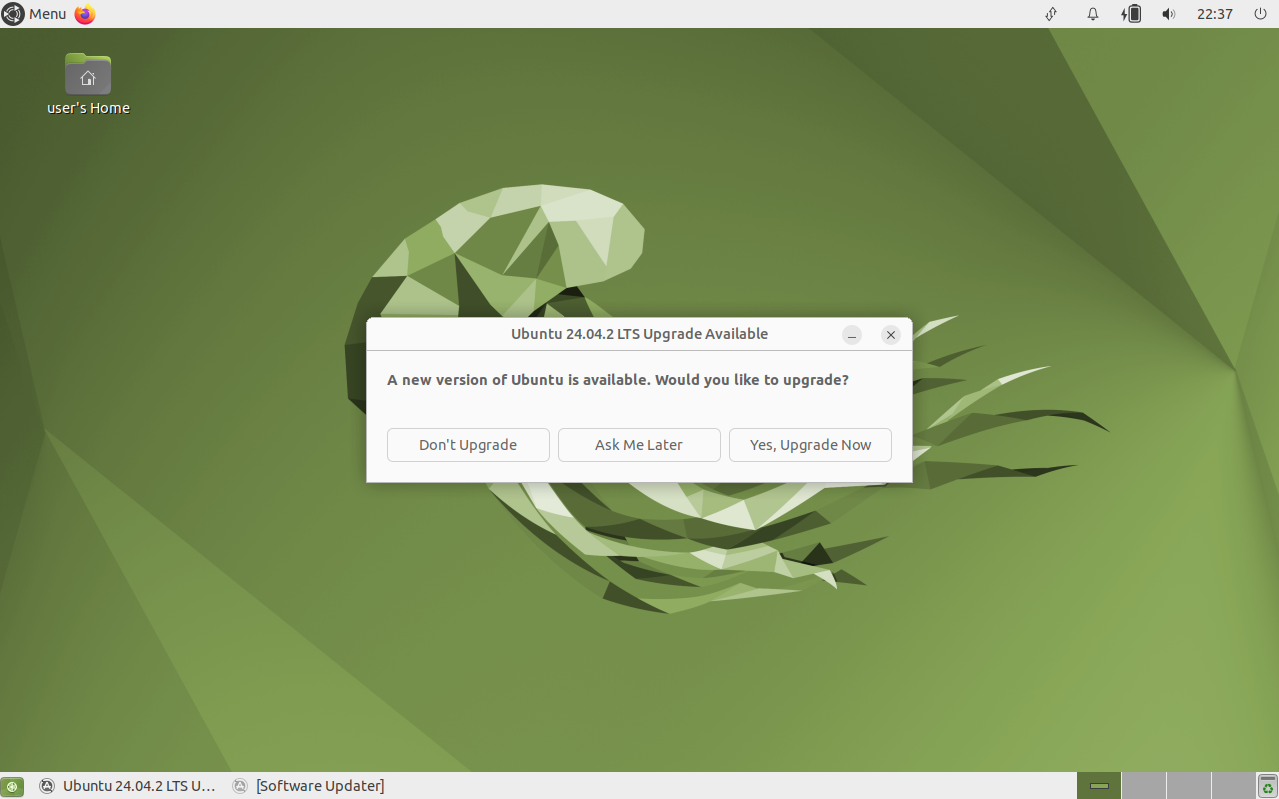
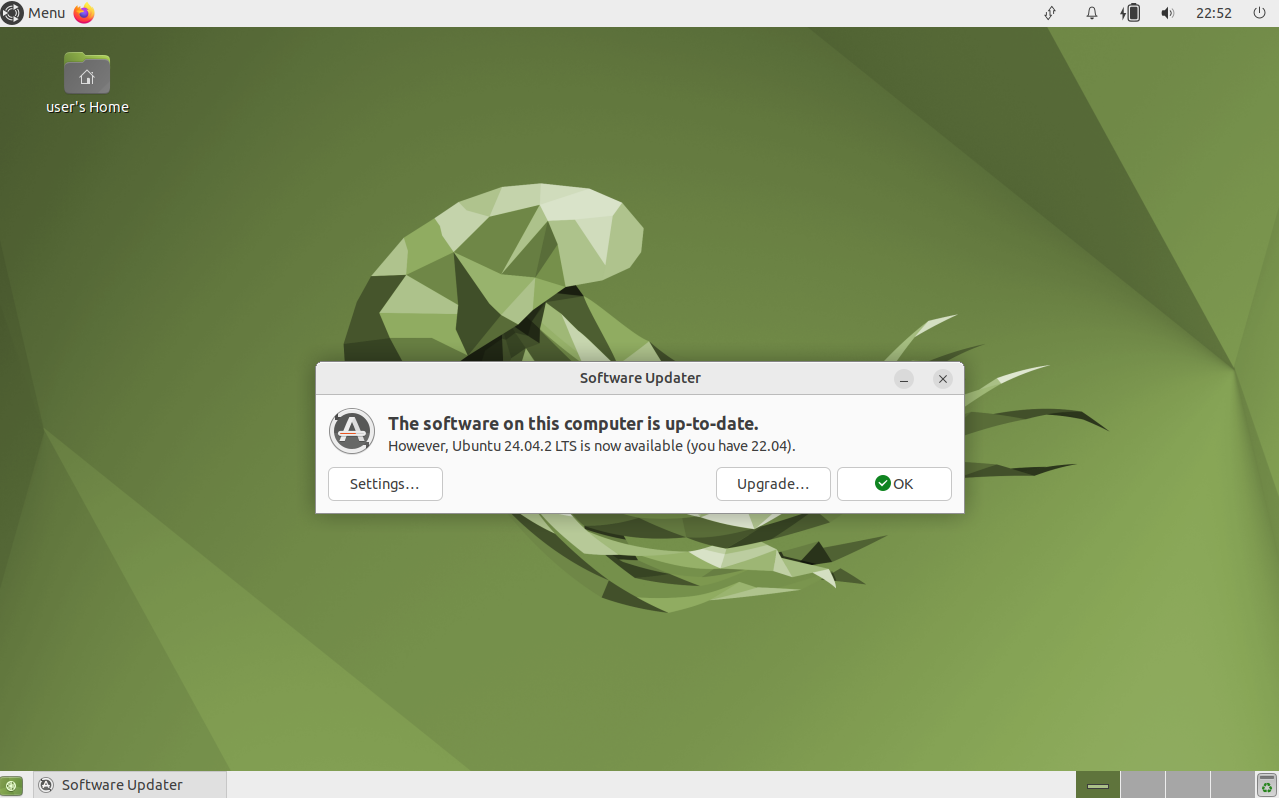
Update the System
Open the "Ubuntu MATE Software Center" and update all available packages.
Click on the image to enlarge
Ready to Use
Once updated, you can start customizing your Ubuntu MATE. Use "Appearance" under Preferences to change themes, icons, and wallpapers to suit your style.
Click on the image to enlarge
After installing Ubuntu MATE, we recommend setting up a backup solution, installing additional drivers from "Additional Drivers," and exploring customization tools like "MATE Tweak" to further tweak your desktop environment.